Showing posts with label masquerade. Show all posts

Wednesday, August 10, 2011

Mardi Gras/Carnival Inspired Makeup Tutorial (Collab) and Costume


I teamed together with Miss Pixie Lulu to do a 'Mardi Gra/Carnival' Inspired look which was so much fun to do :)  I chose the path of 'Harlequin/Pantamime' for mine, lots of black and white with a touch of red/fushia to break it all up, I really love the finished result of both versions, the way they are completely contrasting shows how you can mix things up and get a real individual look.


See Lucy's version here: http://www.youtube.com/watch?v=Ib50yWxuPt8&feature=channel_video_title

Working with black and white is not the easiest thing to do, it can get very messy so you need to be patient and allow a lot of time to get it right.  It's a perfect look for fancy dress/masquerade parties or any Mardi Gra and Carnival you might want to get involved in.


To complete the look I made my outfit up of items I already had, the only thing I purchased were the stockings, mask base and a few ribbons. Refer to previous blog post for DIY on mask and headpiece.

Outfit:

Papermache mask - art supply store $3.00 (DIY tut on previous blog post)
Headpiece (DIY tut on previous blog post)
striped singlet - tightrope (years ago)
puffy skirt, shrug, fingerless gloves (kittycat costume I already had) tail removed
patterned stockings - cosmetics plus $8.00
belt - Brisbane (already had)
black pumps - Brisbane (already had)
bracelet - diva (already had)
ring - diva (already had)
necklace - gift from friend 5 years ago
and a couple of balloons left over from my brother's birthday hahaha :)

** When you're planning a 'costume' for a fancy dress event try to use what you already have so that there is minimal outlay because these are not things that you will be wearing all the time so it's best not to spend too much money on them.  Go through your clothes and you might be surprised at what you come up with using a little imagination :) and if you don't have what you need, visit your local op-shop/thrift store for something, this way you will be pretty much guaranteed that no one else will be wearing the same as you! :)


DIY - Carnival/Mardi Gras Harlequin Half Mask

I started off with a full paper mache face mask which I drew my desired shape onto.  I then carefully cut out the shape.


Once I cut the shape out I gently filed the edges of the mask with a nail file to get rid of any jagged edges.  Remember to file around the eyes as well as these can be a bit rough sometimes.


Next I took a piece of soft cardboard and used it to draw lines on the mask.  The reason I used cardboard was because it can bend easily around the curves of the mask.


Once you're happy with the design, you're ready to paint.


Simple black and white (or whatever colour you want) craft paints will do the job together with a simple paint brush.  I used a straight edge brush so that it would be easier to get into the corners.


Just fill in the pattern, I painted the black onto the white mask and then blended white with a little black to add some dimension to the white, not filling it in completely, just a little.  Around the edges I dragged a touch of black up onto the mask to give an aged effect, I also did this around the eye hole. Lastley I painted black on the very edge of the mask (outside and eyehole) to define the edges.

For the Headpiece:

I used a large flower clip that I already had, some ribbons and beading.  


With a hot glue gun (or your fav glue of choice) arrange the ribbons in an appealing way, I looped the large organza ribbon in a bow effect and then loosly looped the smaller ribbons and beads to hang down.  I also added a few skinny feathers for interest.


Once you have finished, glue a stick to your mask, pin your head piece in your hair and off you go!!! :)


You can find my makeup tutorial for this look HERE

Tuesday, February 8, 2011

Making a Mask - Fantasy Valentine


I was invited to a Masquerade Party last week, it was short notice so I decided to make a mask (with some help from my mumma) and go as a Flower, ha ha.


Directions:

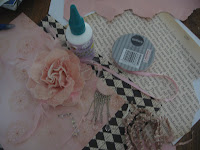
1. Firstly buy a cheap papier mache mask from a $1/2 store and find some pretty papers that you want to rip up and cover the mask in, just use a regular craft glue for this.
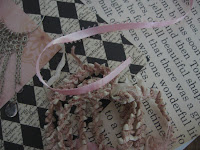
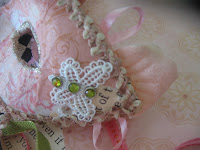
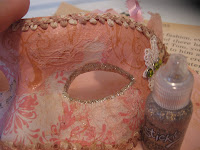
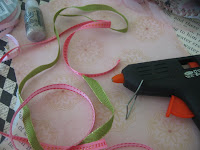
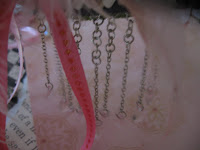
2. Once this is done and dry, trim excess paper away from edges and fold small amount to the back, making small cuts all the way around to help keep things smooth, remember to do around the eyes as well. Coat the mask with a layer of glue to give it a 'softened' look and let it dry. Find a pretty braid or ribbon and glue around the mask leaving some hanging down on the side where you want the main decoration to be and then add some nice large looped ribbons here for interest.
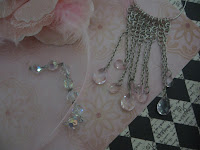
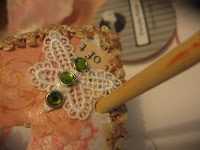
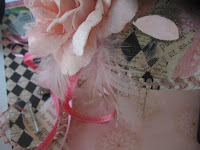
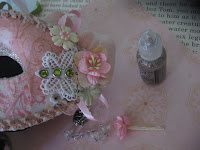
3. Find some pretty decorations, I used ribbon, an old broken flower that was stuck to my door, an odd earing with dangly bits, some braid just look around for odd bits and pieces (ask friends who may have some too, broken jewelry works well).
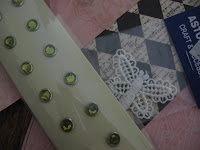
4. My mum has lots of craft supplies so I raided her stash for a crochet butterfly and some sparkly bits, hehe :) These were glued to the side for the smaller decorations, along with some ribbon which I looped and some of the larger petals from the flower which I glued underneath the mask (peeking out). Be sure to poke through the hole for the elastic too.
5. I then went around the outside of the eyes with a lovely vintage gold glitter glue and added some more ribbons to the side of the mask where the larger flower was glued. I broke the earing up and attached it to a stip of ribbon and then glued along the bottom of the mask on one side with a hot glue gun.
6. Some smaller flowers were then added to the other side to balance the mask out and a bit more glitter glue lightly placed on the large petals. I layered 2 or 3 small flowers to give more dimension and interest.

*******

There are so many things you can do to a mask, remember to make sure you can see through the eyeholes properly before decorating your mask because some masks have eyes that are set wide apart and you can't see properly. If this happens you may have to cut the inner corner of the eyeholes a bit more for a better fit, yes, I had to do this myself when I was half way through so we live and learn :) .... hahahaha

Hope you find this helpful

LinkWithin

Related Posts Plugin for WordPress, Blogger...