I love my butterfly wall, it's dreamy and fun and adds that little something to an otherwise normal room I guess. It was also really really easy to do.
For Christmas I was given an iron wall art piece from Target, it was pretty but I couldn't figure out a way to make it work by itself, it just needed something extra? I tried handing it different ways but it still didn't look 'great'. Then the idea of butterflies came, inspired by a photo on the net from Gossip Girl (no, I don't watch this show) I really liked the look and feel of it although that one is done in metal and designed by the Artist 'Paul Villinski', I wasn't going to go cutting beer cans open in the name of my wall art, hehehe I wanted mine to look different as well because I wanted to incorporate the iron flower wall art.
So, by hanging the iron wall art from the top corner of my wall (thanks dad!! :)) I could work out a way to do the butterflies, I already had my fairy lights hanging so using this as a bit of a guide helped with the direction of the butterflies. I roughly sketched a quick design on paper and then found a butterfly outline I liked online (just google butterfly templates). By copy and pasting the butterfly into a word document I could re-size it how I wanted. My aim was to have three different sized butterflies with the biggest being no more than 10cm across.
Once I had my butterflies printed out and cut out then came the job of cutting them out of cardboard, depending how many '3D' butterflies you want, start with 5 of each size (you can always cut more later). I chose a very dark purple cardboard (like my curtains) and a patterened creamy/brown cardboard (it was double sided) and black cardboard for them. My sister Jessica helped with the cutting out, you will have to trace the different sized butterflies onto the cardboard sheets. My cardboard came from my mum's craft stash but you can get it from any scrapbooking shop, you will need the heavy card, not the large poster card.
 |
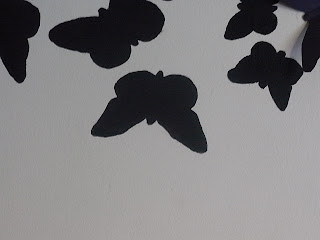
| cut out butterflies |
Ok, butterflies all cut out :) Grab one of your butterflies and a lead pencil and, with your rough sketch close by, start tracing around the butterflies. REMEMBER the more random you place them the better they will look, butterflies are never flying around in an even group, they are always 'scattered' so resist the urge to space them evenly hehehehe every so often take a few steps back and have a look at your design, it looks nice to have a few overlapped occasionally. It's a good idea to have more butterflies at the centre (focal point) of your design and then less butterflies as they fly away, almost like they are 'taking off'. Be sure to mix up the sizes of your butterflies too.
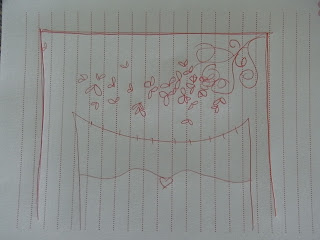 |
| rough sketch |
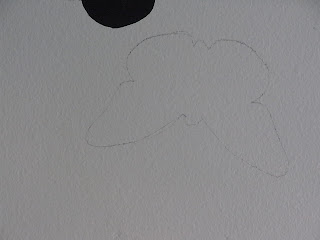 |
| draw butterfly on wall using cutout as a template |
After you've traced all your butterflies, and you're happy with your design, it's time to paint. I chose black craft paint because my iron wall art was black, any colour will work it's up to you. It's a good idea to start at the upper left of your whole design if you are right handed and if you are left handed you should start at the upper right corner. This will prevent you dragging your arm over the wet butterflies as you work :) With a small paint brush, paint the edge of the butterfly first and then fill it in, this may look a little rough to start with but don't worry, you will be giving it a second coat of paint so you can fix up any little bits then. Once the first coat is dry, go over all the butterflies again.
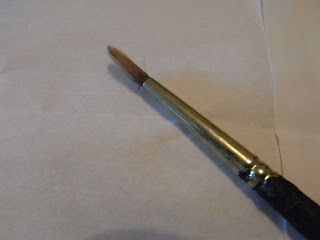 |
| a small paint brush |
 |
| carefully paint edges first |
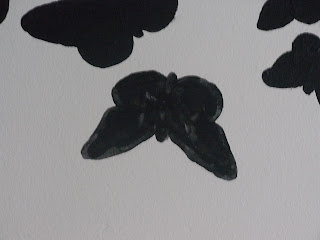 |
| fill in first coat of paint |
 |
| once dry, add second coat of paint |
Remember, if the weather is really hot the paint will dry quickly, even on your brush!!! hahaha Be sure the paint is not too runny because you don't want your butterflies 'running' :(
Butterflies all dry? Now it's time to add some dimension, this step is completely up to you, you may want to leave it with just the painted butterflies but because I had the iron wall art I wanted some balance.
With a good double sided tape cut very thin to fit on the body of the butterfly, randomly place your cardboard butterflies throughout your art work, keep stepping back to have a look and when you're happy, STOP!!! You don't have to use them all :) Keep the left over butterflies and tape in a safe place so you can use them at a later date if you want to.
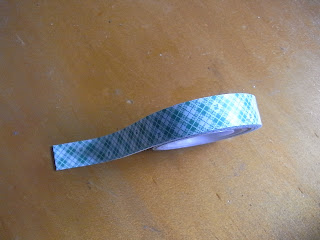 |
| strong double sided tape |
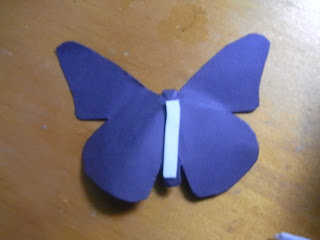 |
| cut tape to fit back of butterfly's body, bend butterfly |
 |
| store left overs safely :) |
I hope this 'how to' was of some help and I hope your art work turns out beautifully!!!
See my Room Tour video
HERE and more photos
HERE


That is amazing how simple adding the paper on is yet it adds so much effect! Love it!
ReplyDeleteThankyou :)
Delete~Cassie
wow! your room is so pretty! really i like it...good work!!!
ReplyDeleteI'm so happy with my room, thank you :)
Deleteim definitely going to do this! thank you so much :)
ReplyDeleteThis is very pretty! I think I'm going to use it on my wall above my bed, it's a bit boring there :) I just started to follow you but I absolutely love your blog!
ReplyDeletexx Rixt
Wowww, it definitely adds an artistic touch to your room. Thumbs up :)
ReplyDeleteDone this for my room :D Thanks for the idea x
ReplyDelete