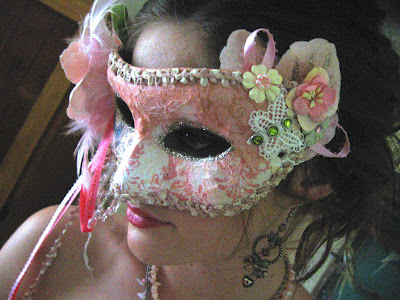
I was invited to a Masquerade Party last week, it was short notice so I decided to make a mask (with some help from my mumma) and go as a Flower, ha ha.
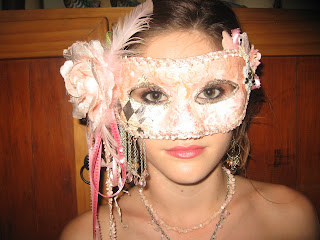
Directions:
1. Firstly buy a cheap papier mache mask from a $1/2 store and find some pretty papers that you want to rip up and cover the mask in, just use a regular craft glue for this.
2. Once this is done and dry, trim excess paper away from edges and fold small amount to the back, making small cuts all the way around to help keep things smooth, remember to do around the eyes as well. Coat the mask with a layer of glue to give it a 'softened' look and let it dry. Find a pretty braid or ribbon and glue around the mask leaving some hanging down on the side where you want the main decoration to be and then add some nice large looped ribbons here for interest.
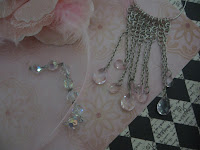
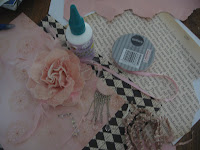
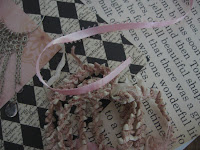
3. Find some pretty decorations, I used ribbon, an old broken flower that was stuck to my door, an odd earing with dangly bits, some braid just look around for odd bits and pieces (ask friends who may have some too, broken jewelry works well).
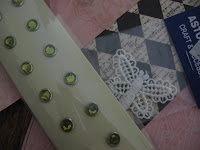
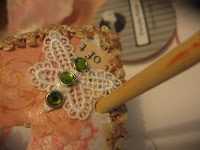
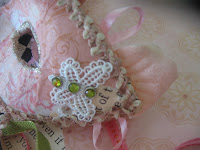
4. My mum has lots of craft supplies so I raided her stash for a crochet butterfly and some sparkly bits, hehe :) These were glued to the side for the smaller decorations, along with some ribbon which I looped and some of the larger petals from the flower which I glued underneath the mask (peeking out). Be sure to poke through the hole for the elastic too.
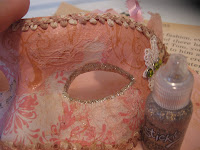
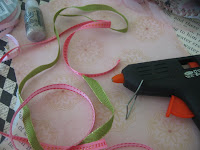
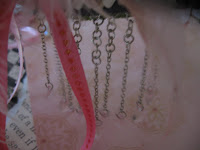
5. I then went around the outside of the eyes with a lovely vintage gold glitter glue and added some more ribbons to the side of the mask where the larger flower was glued. I broke the earing up and attached it to a stip of ribbon and then glued along the bottom of the mask on one side with a hot glue gun.
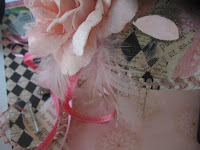
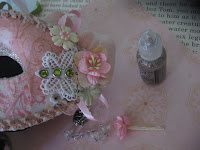
6. Some smaller flowers were then added to the other side to balance the mask out and a bit more glitter glue lightly placed on the large petals. I layered 2 or 3 small flowers to give more dimension and interest.
*******
There are so many things you can do to a mask, remember to make sure you can see through the eyeholes properly before decorating your mask because some masks have eyes that are set wide apart and you can't see properly. If this happens you may have to cut the inner corner of the eyeholes a bit more for a better fit, yes, I had to do this myself when I was half way through so we live and learn :) .... hahahaha
Hope you find this helpful


Love your mask^ ^!!
ReplyDeletepretty mask!
ReplyDelete